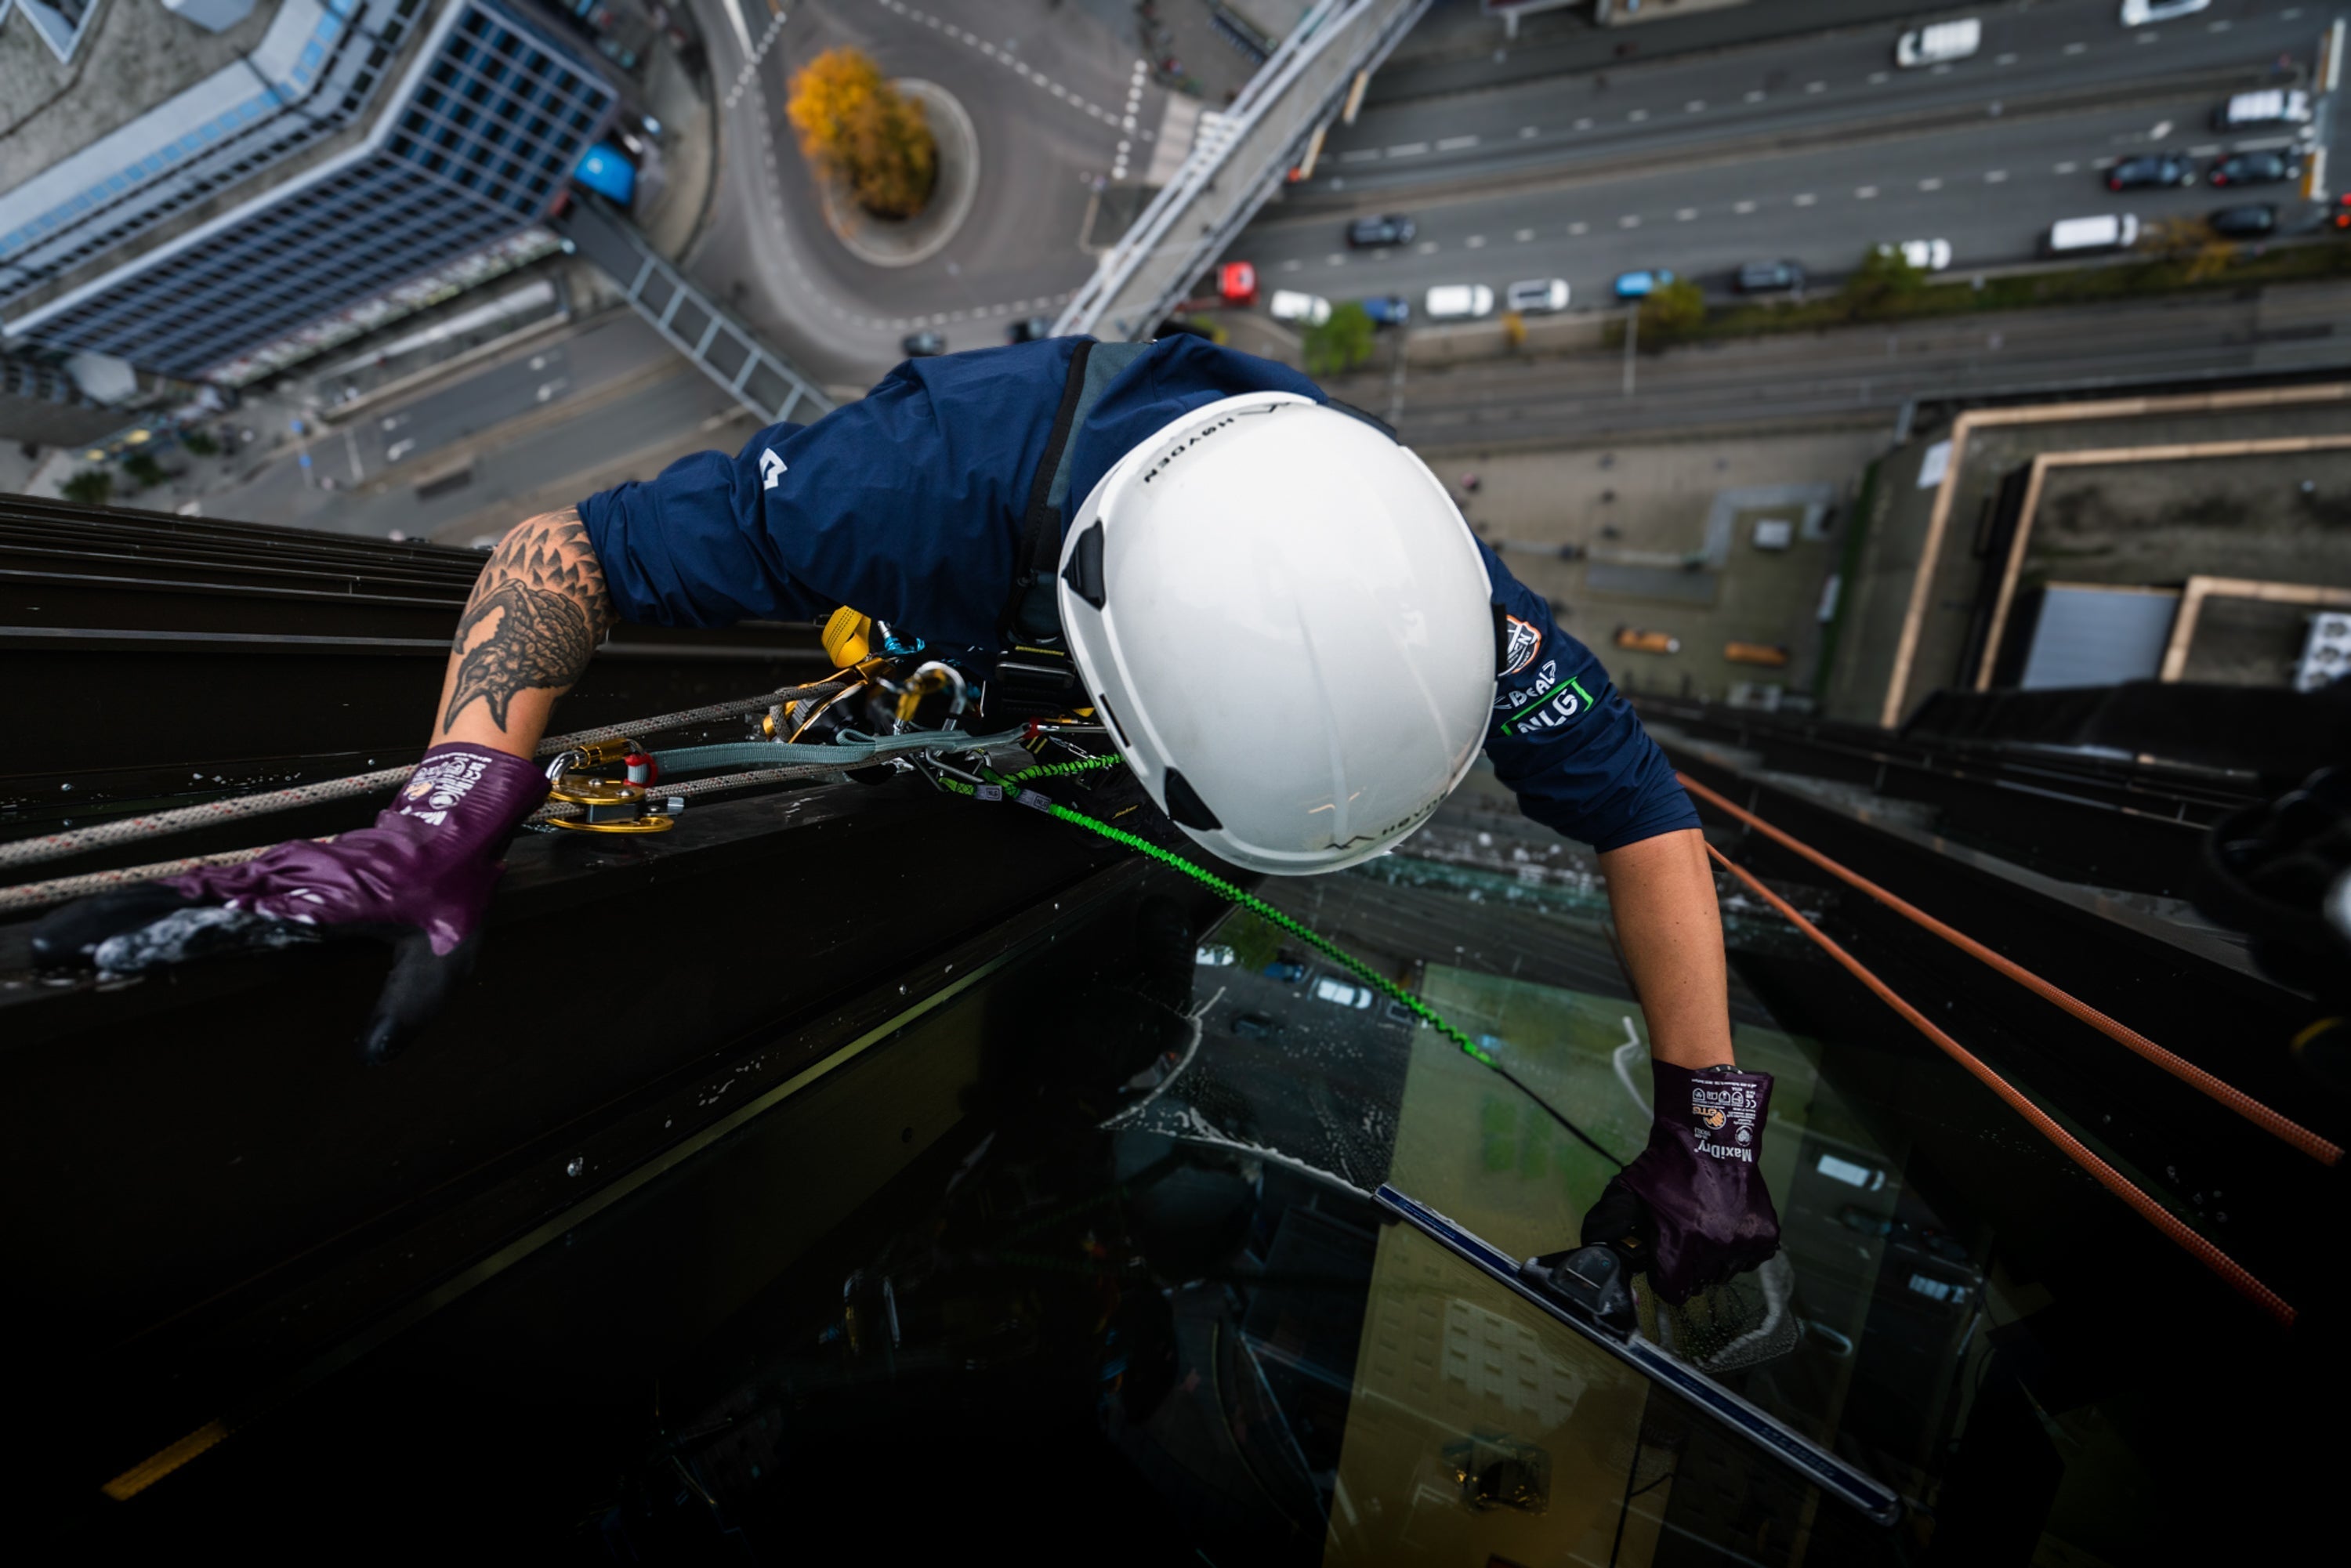
Working at height comes with inherent risks, making safety a top priority. Whether you're a seasoned professional or new to the industry, adhering to best practices ensures a secure and efficient work environment. Here’s a practical guide to help you minimize risks and stay compliant with safety regulations:
1. Conduct a Risk Assessment
Before initiating any task at height, it's crucial to perform a comprehensive risk assessment to identify and mitigate potential hazards. Start by evaluating the worksite for any structural vulnerabilities, such as weak or deteriorated surfaces, fragile roofs, or unstable scaffolding, which could compromise safety during operations. Examine the ground conditions to ensure they are stable and capable of supporting equipment, especially if heavy machinery or ladders are in use.
Next, take environmental factors into account. Weather conditions play a significant role in work-at-height safety. High winds can make it difficult to maintain balance or control equipment, rain or ice can create slippery surfaces, and extreme heat or cold can affect both worker endurance and material performance. Always check the forecast and be prepared to delay the task if conditions are unsafe.
Additionally, consider task-specific risks, such as the potential for falling debris or obstacles that might interfere with the job. Evaluate access points and exits, ensuring they are clear and accessible in case of an emergency. By thoroughly assessing these hazards beforehand, you can implement preventive measures and ensure the safety of everyone involved in the operation.
2. Use the Right Equipment
The foundation of work-at-height safety is using appropriate personal protective equipment (PPE). Begin by identifying the specific safety gear required for your task, ensuring that all items meet industry standards such as ANSI, OSHA, or CE, depending on your region and industry. Select equipment designed for the specific type of work being performed to ensure it provides the intended protection and functionality.
-
Harnesses: Choose a harness that is rated for the work environment and compatible with the activity, whether it's industrial, construction, or rope access. Ensure it fits properly, with all straps snug and adjusted to prevent slippage. Full-body harnesses are recommended for fall arrest systems as they distribute force across the body during a fall.
-
Helmets: Use a helmet specifically designed for work at height, equipped with a secure chin strap to prevent it from falling off. Look for helmets with shock absorption and ventilation to maximize both safety and comfort.
-
Lanyards: Select the appropriate type of lanyard for your task, such as shock-absorbing lanyards for fall arrest or positioning lanyards for maintaining stability. Ensure the lanyard's length and material are suitable for the work environment.
-
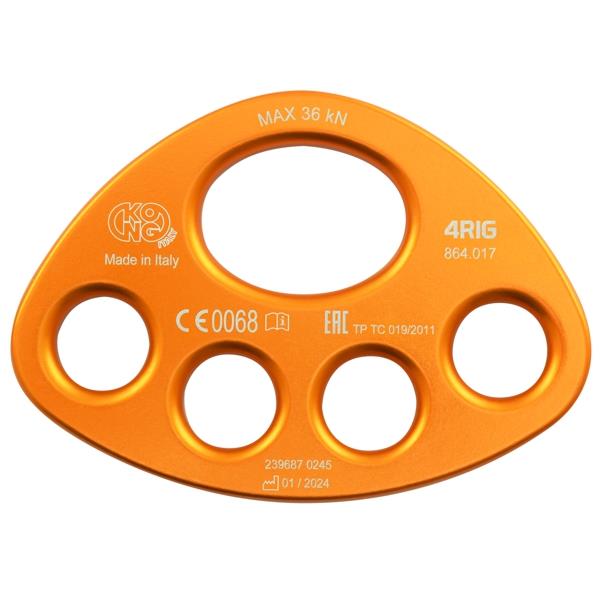
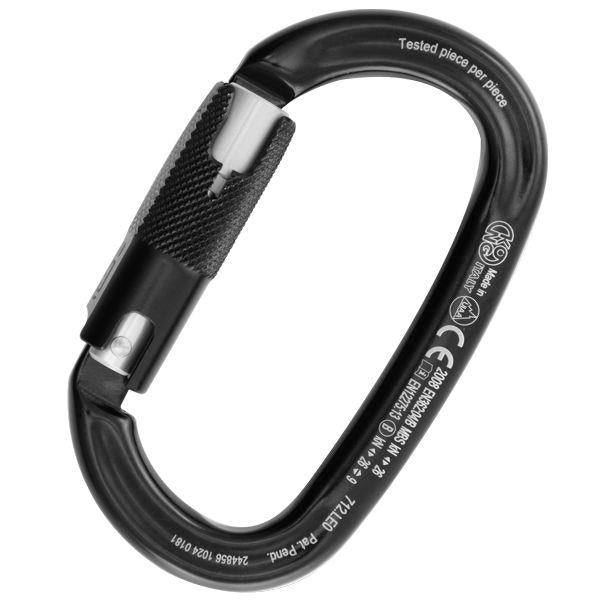
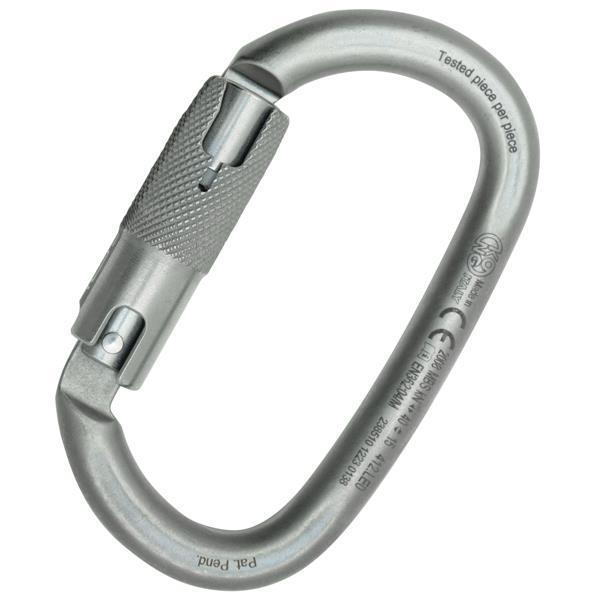
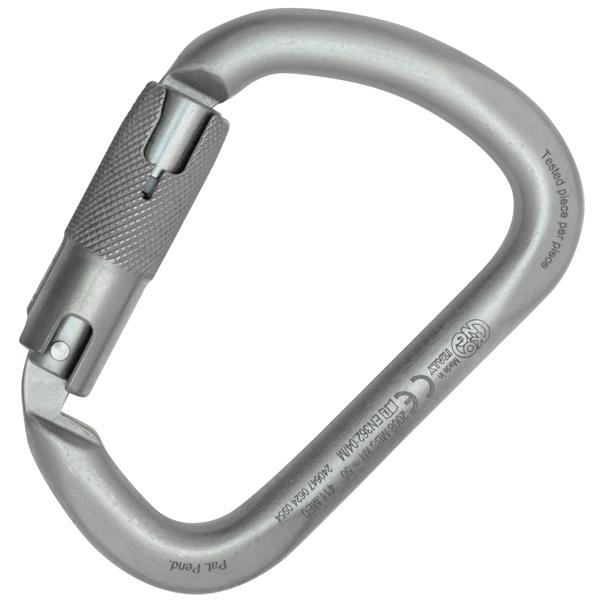
Anchors and Connectors: Verify that all anchors and connectors are rated for the load they will bear and are installed on stable and secure surfaces. Use carabiners and other connectors that are compatible with the anchor points and safety gear, ensuring they lock securely.
-
Inspection: Before starting any task, inspect each piece of safety gear for signs of wear, damage, or defects. Check harnesses for frayed straps, lanyards for abrasions or compromised stitching, and helmets for cracks or loose straps. Inspect connectors and anchors for signs of rust, deformation, or malfunction.
-
Compliance: Verify that all equipment complies with relevant standards and has been maintained according to manufacturer guidelines. Keep a log of inspections and maintenance to track the condition of your gear over time.
Ensuring your safety gear is suitable for the job not only minimizes risk but also boosts confidence in the equipment’s reliability. Remember, safety gear is your last line of defense—choose wisely and maintain diligently.
3. Inspect Gear Regularly
Before starting any task, conduct a comprehensive inspection of all equipment to ensure it is in optimal working condition. Regular inspections are essential to identify potential hazards and prevent equipment failure during critical operations. Follow these detailed steps to conduct an effective inspection:
-
Harnesses
- Straps: Check for fraying, cuts, abrasions, or signs of chemical exposure. The material should be pliable, with no hard spots or discoloration that could indicate weakening.
- Buckles: Ensure that all buckles function correctly, lock securely, and show no signs of corrosion or deformation.
- D-Rings: Inspect the D-rings for cracks, sharp edges, or bending. Verify that they are firmly attached to the harness and capable of supporting the required load.
-
Helmets
- Shell: Examine the helmet's shell for cracks, dents, or discoloration, which could compromise its integrity.
- Chin Straps: Verify that straps are intact, adjustable, and secure. Check for fraying or worn-out fasteners.
- Suspension System: Inspect the internal suspension system to ensure it is intact, properly adjusted, and free of damage.
-
Lanyards
- Webbing: Look for cuts, abrasions, burns, or weakened fibers along the entire length.
- Shock Absorber: Ensure that the shock-absorbing component has not been deployed (usually indicated by an extended section or warning label).
- Connectors: Check all connectors, such as carabiners, for proper locking functionality, smooth movement, and absence of corrosion or damage.
-
Anchors and Connectors
- Anchor Points: Verify that anchor points are secure and capable of supporting the intended load. Ensure they are not exposed to conditions that could weaken them, such as corrosion or cracking.
- Carabiners and Connectors: Inspect for signs of wear, deformation, or malfunction. Test the locking mechanism to ensure it operates smoothly and locks securely.
-
Ropes and Cables
- Ropes: Check for fraying, cuts, flattened sections, or discoloration. Verify that the rope has maintained its flexibility and is free of hard spots or knots.
- Cables: Inspect for broken wires, rust, or other forms of deterioration that could compromise strength.
-
General Guidelines
- Perform inspections in a well-lit area to ensure nothing is missed.
- Use your hands to feel for hidden damage, such as internal fraying or stiff spots in webbing or rope.
- Never use equipment that shows any sign of damage or wear beyond acceptable limits.
- Tag damaged gear immediately and remove it from service to prevent accidental use. Notify your supervisor or safety officer, and replace or repair the equipment as required.
-
Documentation
- Maintain a log of all inspections, noting the date, equipment inspected, and any issues identified. This not only helps track the condition of your gear but also ensures compliance with safety regulations.
By incorporating detailed inspections into your daily routine, you minimize risks, ensure compliance with safety standards, and protect yourself and your team from potential accidents caused by equipment failure. Proper care and attention to your gear are vital for every professional working at height.
4. Secure Anchor Points
Anchor points are the foundation of any fall protection system, ensuring your safety while working at height. Properly selecting, inspecting, and using anchor points significantly reduces the risk of falls or equipment failure. Here's a detailed guide on ensuring anchor points are secure and reliable:
1. Understand Load Requirements
- Load Capacity: Ensure the anchor point can withstand at least 5,000 pounds (22.2 kN) per attached individual, as recommended by OSHA and other safety standards. For engineered systems, anchor points must meet the safety factor specified by a qualified person.
- Dynamic Forces: Consider dynamic forces such as fall arrest loads, which may exceed static weights. Anchor points must handle both static and dynamic loads without compromising stability.
2. Identify Suitable Anchor Points
- Structural Components: Choose anchor points that are part of the building's structural framework, such as steel beams, concrete columns, or purpose-designed anchor devices. Avoid temporary fixtures like scaffolding unless explicitly rated for anchorage.
- Natural Anchor Points: In outdoor environments, trees or large rocks may serve as anchor points, but only after thorough evaluation by a professional.
3. Inspect Anchor Points
- Material Integrity: Check for rust, cracks, or corrosion on metal anchor points. Inspect concrete anchors for signs of spalling, chipping, or instability.
- Attachments: Ensure bolts, welds, or screws are intact and securely fastened. Any loose or worn attachments should be flagged and replaced.
- Environmental Factors: Consider how environmental conditions, such as moisture, temperature, or chemical exposure, could weaken the anchor point over time.
4. Use Appropriate Anchor Systems
- Permanent Anchors: For ongoing tasks, use certified permanent anchors designed to withstand repeated use.
- Portable Anchors: For temporary jobs, use portable anchor devices such as weighted bases or beam clamps, ensuring they are properly rated and positioned.
- Horizontal Lifeline Systems: Ensure lifeline systems are anchored at both ends to points capable of supporting the required load.
5. Verification Before Use
- Load Testing: If possible, perform load testing to confirm the anchor point can sustain the anticipated forces. Use specialized equipment to apply and measure the load.
- Visual Inspection: Conduct a thorough visual inspection immediately before use. Look for any changes or damage since the last check.
6. Best Practices for Connection
- Direct Connection: Whenever possible, connect lanyards, lifelines, or fall arrest systems directly to the anchor point using carabiners or connectors.
- Avoid Sharp Edges: Ensure the connection path does not run over sharp edges or abrasive surfaces that could damage ropes or lanyards. Use edge protectors if necessary.
- Secure Locking Mechanisms: Verify that carabiners or connectors are fully locked and appropriately aligned to prevent accidental disengagement.
7. Documentation and Compliance
- Maintain records of anchor point inspections, testing, and usage logs to ensure compliance with safety standards and regulations.
- Regularly review anchor point selection and usage with a qualified safety professional, particularly for complex or high-risk tasks.
By following these detailed guidelines, you ensure that your anchor points provide a stable and secure foundation for your work at height, protecting you and your team from potential hazards. Reliable anchor points are critical to maintaining the integrity of your fall protection system and ensuring a safe work environment.
5. Follow Proper Fall Protection Procedures
Fall protection measures are critical for ensuring the safety of workers performing tasks at height. Selecting and correctly installing these systems can significantly reduce the risk of injury or fatality. Below is a detailed guide to understanding and utilizing fall arrest systems, guardrails, and safety nets effectively:
1. Fall Arrest Systems
- Purpose: Fall arrest systems are designed to stop a fall in progress, minimizing the forces exerted on the body and preventing the individual from reaching the ground.
-
Types:
- Personal Fall Arrest Systems (PFAS): Includes a full-body harness, lanyard, and an anchor point.
- Retractable Lifelines: Provide a dynamic connection that locks automatically during a fall.
-
Installation:
- Ensure all components are compatible and meet industry standards (e.g., OSHA, ANSI).
- Anchor points must withstand the forces exerted during a fall, typically 5,000 lbs. per attached worker.
- Maintain proper clearance below the work area to prevent ground impact (fall clearance).
- Inspection and Maintenance: Inspect the harness, connectors, and lifelines for wear, damage, or defects before each use. Replace any compromised components immediately.
2. Guardrails
- Purpose: Guardrails provide passive protection, acting as a physical barrier to prevent workers from reaching fall hazards.
-
Types:
- Top Rails: Positioned between 39–45 inches above the walking/working surface.
- Midrails: Installed halfway between the top rail and the surface.
- Toe Boards: Prevent tools and materials from falling off elevated surfaces.
-
Installation:
- Securely attach guardrails to stable surfaces.
- Ensure materials used for guardrails meet strength requirements, typically capable of withstanding 200 lbs. of force in any direction.
- Compliance: Confirm that guardrails meet local regulations for height, spacing, and material strength.
3. Safety Nets
- Purpose: Safety nets are designed to catch workers if they fall, reducing the distance and force of impact. They are particularly useful in large, open spaces where other systems may be impractical.
-
Installation:
- Install nets as close as possible to the working surface to minimize fall distance, ensuring they extend sufficiently to cover the fall zone.
- Anchor nets securely to structures capable of supporting the potential load.
- Overlap multiple nets where necessary to eliminate gaps.
- Inspection: Check safety nets for tears, fraying, or other damage. Ensure they are free of debris and properly tensioned.
4. Compliance with Local Regulations
- Standards: Follow safety standards established by organizations such as OSHA, ANSI, and EN, ensuring that all equipment and installations are compliant with local laws and regulations.
- Training: Provide workers with adequate training on the use and limitations of fall protection measures.
- Documentation: Maintain records of installations, inspections, and worker certifications to ensure ongoing compliance.
5. Best Practices
- Integration: Combine multiple systems where appropriate (e.g., using guardrails alongside safety nets) for enhanced protection.
- Regular Checks: Conduct frequent inspections and assessments of all fall protection measures to ensure ongoing reliability and compliance.
- Emergency Planning: Develop and communicate a fall rescue plan, ensuring workers know how to respond promptly and effectively in case of an incident.
By carefully selecting, installing, and maintaining fall arrest systems, guardrails, and safety nets, you can create a safer work environment and significantly mitigate the risks associated with working at height. These measures provide essential layers of protection, safeguarding both workers and the workplace.
6. Ensure Proper Training
Thorough and ongoing training is a cornerstone of safety for tasks performed at height. Workers equipped with the right skills, knowledge, and certifications can better identify hazards, operate equipment safely, and respond effectively in emergencies. Here’s a more detailed breakdown of what comprehensive training should include and its significance:
1. General Training Requirements
-
Working at Height Basics:
- Understand the risks associated with working at height and the importance of fall prevention.
- Learn to recognize common hazards, such as unstable surfaces, adverse weather, and improper equipment use.
-
Equipment Familiarity:
- Gain hands-on experience with harnesses, lanyards, ropes, anchor points, and other fall protection systems.
- Understand equipment inspection protocols and safe use practices.
-
Safety Procedures:
- Learn how to implement fall protection measures effectively.
- Emphasize the importance of maintaining three points of contact when climbing or working at elevated surfaces.
2. Specific Skills and Certifications
-
Rope Access Techniques:
- Specialized certifications such as IRATA (Industrial Rope Access Trade Association) or SPRAT (Society of Professional Rope Access Technicians) provide workers with advanced skills in rope access work, including descending, ascending, and traversing ropes.
- These certifications emphasize safety, equipment handling, and rescue techniques, often required for industries like wind energy, oil and gas, and construction.
-
Ladder and Scaffolding Training:
- Proper setup, use, and disassembly of ladders and scaffolding.
- Identifying weight capacities and ensuring stability.
-
Rescue and Emergency Response:
- Workers should know how to execute self-rescue techniques or assist in rescuing others in the event of a fall.
- Training should cover the use of evacuation devices, communication protocols, and first aid, including managing suspension trauma.
3. Compliance and Regulations
- Workers must be trained according to local regulations and industry standards such as:
- OSHA: Occupational Safety and Health Administration standards (e.g., Fall Protection Standard 1926.501).
- ANSI: American National Standards Institute guidelines for fall protection equipment and practices.
- EN Standards: European safety standards for equipment and procedures.
- Certification ensures that workers meet legal and industry requirements, reducing liability and improving workplace safety.
4. Customized Training for Job-Specific Risks
- Tailored training programs should address specific job environments, such as confined spaces, uneven terrain, or extreme weather conditions.
- Training should also include hazard identification for unique structures like wind turbines, telecommunications towers, or bridges.
5. Ongoing Training and Refreshers
- Continuous Education: As equipment and safety standards evolve, workers should participate in refresher courses to stay updated.
- Hands-On Drills: Conduct regular mock scenarios to reinforce learning, especially for emergency procedures.
6. Benefits of Proper Training
- Increased Confidence: Workers trained in proper techniques are less likely to hesitate or make mistakes.
- Reduced Incidents: Knowledge of hazards and safe practices leads to fewer accidents and injuries.
- Compliance: Certification demonstrates adherence to industry regulations, fostering trust with clients and stakeholders.
Providing workers with comprehensive training and the appropriate certifications ensures that they are well-prepared to handle the challenges of working at height. By fostering a culture of safety, employers can protect their teams and maintain efficient operations.
7. Monitor Weather Conditions
Working at height poses unique risks, and adverse weather conditions can significantly amplify these dangers. Recognizing and responding appropriately to environmental factors is critical for ensuring worker safety and preventing accidents. Here's a detailed breakdown of how specific weather conditions impact safety and the precautions to take:
1. Strong Winds
-
Risk Factors:
- High winds can destabilize workers, tools, and equipment, increasing the risk of falls or dropped objects.
- Scaffolding, platforms, and ladders may sway, reducing stability.
-
Precautions:
- Monitor wind speeds; many guidelines recommend halting work when winds exceed 20-25 mph.
- Secure all tools and loose materials to prevent them from becoming airborne.
- Use tethered tools and ensure workers are equipped with fall arrest systems.
2. Rain and Wet Conditions
-
Risk Factors:
- Wet surfaces become slippery, leading to a higher likelihood of slips, trips, and falls.
- Rain can obscure visibility, making it harder to spot hazards or navigate safely.
- Electrical equipment becomes hazardous in wet conditions.
-
Precautions:
- Use slip-resistant footwear and ensure platforms have proper drainage.
- Postpone work involving electrical tools if waterproofing or ground-fault circuit interrupters (GFCIs) are not available.
- Provide workers with waterproof clothing to maintain comfort and mobility.
3. Lightning
-
Risk Factors:
- Lightning poses a severe risk when working on tall structures, scaffolding, or near metal equipment, as they can act as conductors.
-
Precautions:
- Cease work immediately if lightning is detected within a 10-mile radius.
- Develop an emergency action plan for evacuating workers to a safe shelter.
- Avoid open areas, tall structures, and contact with conductive materials during storms.
4. Extreme Temperatures
-
Cold Weather:
- Risks include frostbite, hypothermia, and reduced dexterity, which can impair tool handling.
- Ice can form on platforms and equipment, creating additional slip hazards.
-
Hot Weather:
- Heatstroke, dehydration, and reduced concentration can occur during prolonged exposure to high temperatures.
-
Precautions:
- Cold: Wear insulated clothing and ensure de-icing measures are applied to work surfaces.
- Heat: Schedule breaks, provide hydration, and use lightweight, breathable clothing.
5. Fog or Low Visibility
-
Risk Factors:
- Reduced visibility can make it difficult to see edges, obstacles, or other workers.
-
Precautions:
- Use high-visibility clothing and lighting to improve awareness.
- Delay tasks until visibility improves.
6. Best Practices for Weather Monitoring and Decision-Making
- Regularly monitor weather forecasts using reliable sources or specialized apps designed for construction and outdoor industries.
- Designate a safety officer to assess on-site weather conditions and determine when to pause work.
- Establish clear guidelines for weather-related work stoppages, ensuring all workers are aware of protocols.
7. Postpone Tasks When Necessary
- If adverse weather conditions pose a significant risk, prioritize worker safety by delaying tasks. No project deadline is worth endangering lives.
8. Maintain Clear Communication
Effective communication is vital for ensuring the safety and efficiency of workers operating at height. In high-risk environments, clear lines of communication help coordinate tasks, prevent accidents, and respond promptly to emergencies. Here's a more detailed breakdown of how to establish and maintain robust communication systems:
1. Identify Communication Needs
- Assess the specific requirements of the work site, including:
- The distance between team members.
- Environmental factors like noise levels or visibility.
- The complexity of tasks requiring coordination.
2. Choose Reliable Communication Tools
-
Radios:
- Equip workers with two-way radios for instant communication.
- Use noise-canceling models for loud environments to ensure clarity.
- Establish standard channels for specific teams or activities to reduce interference.
-
Hand Signals:
- Train workers in universally understood hand signals for situations where verbal communication isn’t feasible.
- Use clear and distinct gestures to avoid misunderstandings, particularly for tasks involving heavy machinery or crane operations.
-
Whistles or Alarms:
- Use whistles for quick alerts or warnings, especially in noisy or expansive sites.
- Ensure workers understand the meaning of specific signals, such as one short blast for attention or multiple blasts for emergencies.
3. Set Up a Communication Protocol
-
Pre-Task Briefings:
- Conduct daily safety meetings to review tasks, assign roles, and outline communication expectations.
- Identify key contact points for reporting hazards or emergencies.
-
Emergency Communication:
- Establish a clear procedure for reporting and responding to emergencies, such as falls or equipment failures.
- Ensure all team members know how to call for help and relay precise information about the incident and location.
-
Regular Updates:
- Encourage frequent check-ins to provide progress updates and address any new hazards.
4. Overcome Environmental Challenges
-
Noisy Environments:
- Use headsets with built-in noise-canceling microphones for verbal communication.
- Rely on visual signals or text-based communication as a backup.
-
Remote Locations:
- Equip teams with long-range communication devices if cellular service is unavailable.
- Consider satellite phones for extreme remote conditions.
5. Conduct Regular Training and Drills
- Provide hands-on training for workers to use radios, understand hand signals, and follow emergency protocols.
- Simulate emergency scenarios to test communication systems and identify areas for improvement.
6. Monitor and Maintain Communication Systems
- Check that radios and other devices are fully charged and in good working condition before each shift.
- Have backup devices available in case of equipment failure.
- Regularly update communication plans to adapt to changes in the work environment or team structure.
By establishing clear and reliable communication practices, workers can better coordinate their efforts, minimize risks, and ensure a safer, more efficient work environment at height.
9. Avoid Overloading Systems
Exceeding the load limits of equipment, ropes, or platforms can lead to catastrophic failures and put workers at significant risk. To maintain safety and efficiency, follow these guidelines for managing weight capacities and distributing loads properly:
1. Understand Equipment Load Limits
- Manufacturer Specifications: Always adhere to the load ratings provided by manufacturers for ropes, harnesses, lanyards, platforms, and other equipment.
-
Breaking Strength and Safety Factors: Ensure you understand the Minimum Breaking Strength (MBS) of equipment and apply the appropriate safety factor. For instance:
- A common safety factor is 10:1, meaning the safe working load is 10% of the MBS.
- Dynamic and Static Loads: Account for both static weight and any additional forces caused by movement or falls.
2. Assess and Monitor Total Load
- Weight Calculation: Include the weight of tools, materials, and workers in the total load.
- Regular Monitoring: Continuously monitor loads during tasks to ensure they remain within safe limits, particularly when lifting or lowering materials.
3. Distribute Loads Evenly
- Prevent Uneven Strain: Uneven loads can place excessive stress on specific parts of equipment or structures, increasing the risk of failure.
- Platform Load Management: Ensure weight is centered on platforms and avoid placing loads on edges.
4. Inspect Equipment Before Use
- Look for signs of wear, damage, or deformation that could reduce load capacity, such as frayed ropes, cracked hardware, or bent components.
- Replace any compromised equipment immediately.
5. Use Appropriate Equipment for the Job
- Heavy Loads: For tasks involving substantial weight, use specialized lifting equipment such as pulleys, cranes, or hoists designed to handle the load.
- Load-Indicating Devices: Consider using equipment with built-in load indicators to monitor weight in real time.
6. Provide Training on Load Management
- Train workers to understand equipment ratings and recognize potential overloading hazards.
- Include practical demonstrations on how to evenly distribute loads and adjust for shifting materials.
7. Follow Local Regulations and Standards
- Adhere to industry and regional safety standards, such as OSHA or EN guidelines, which often mandate specific load limits and procedures.
8. Plan for Contingencies
- Establish protocols for safely reducing or redistributing loads if they approach equipment limits.
- Have backup equipment readily available in case primary gear reaches capacity.
By respecting load limits and ensuring even distribution, workers can significantly reduce the risk of accidents, prolong the lifespan of equipment, and maintain a safer working environment at height.
10. Have an Emergency Plan
Being prepared for emergencies is crucial when working at height. Quick and effective response can save lives and minimize injuries. Here’s how to ensure your team is ready for any situation:
1. Develop and Communicate a Rescue Plan
- Customized for Tasks: Tailor the rescue plan to the specific job site and tasks being performed.
- Clearly Defined Roles: Assign responsibilities to team members, such as who will coordinate, assist, or provide first aid during an emergency.
- Accessible Documentation: Keep the rescue plan easily accessible on-site, and ensure all team members are familiar with its details.
2. Equip the Team for Emergency Situations
- First Aid Kits: Stock comprehensive first aid kits with supplies for common injuries, such as cuts, burns, and fractures.
- Rescue Equipment: Have specialized gear like rope rescue kits, pulley systems, and stretchers readily available.
- Communication Devices: Equip the team with radios or phones to call for assistance quickly.
3. Train Personnel in Emergency Procedures
- Rescue Techniques: Provide training on how to safely retrieve a fallen or suspended worker using the equipment available.
- First Aid Certification: Ensure there are certified first-aiders on-site to address injuries immediately.
- Emergency Evacuation: Practice how to safely evacuate from height in case of structural failure or other hazards.
4. Practice Regular Emergency Drills
- Simulate Real Scenarios: Conduct realistic drills that replicate potential emergencies, such as fall recovery or medical evacuations.
- Identify Weaknesses: Use drills to uncover gaps in the rescue plan and improve processes.
- Foster Team Coordination: Reinforce communication and teamwork during mock emergencies.
5. Monitor Emergency Resources
- Equipment Maintenance: Regularly inspect and maintain rescue gear to ensure it’s in proper working order.
- First Aid Supplies: Check and replenish first aid kits regularly to avoid shortages.
6. Time is Critical in Emergencies
- Swift Action: Minimize the time between identifying an emergency and beginning rescue efforts to reduce risks such as suspension trauma or injury escalation.
- Pre-Positioned Resources: Strategically place rescue gear and first aid kits near work areas for faster access.
7. Coordinate with Emergency Services
- Local Contacts: Maintain up-to-date contact information for local emergency services.
- Site-Specific Information: Provide details like site layout and access points to emergency responders in advance.
By preparing thoroughly for emergencies, ensuring the availability of rescue resources, and conducting regular training, teams can respond quickly and effectively to incidents, ultimately saving lives and protecting workers at height.
By following these safety tips, professionals can significantly reduce the risks associated with working at height. Remember, safety is a shared responsibility that starts with preparation and vigilance. Stay safe, stay compliant, and always prioritize your well-being and that of your team.


